Create Your First Team Radar
- Log in to Business Radar to open the Team room
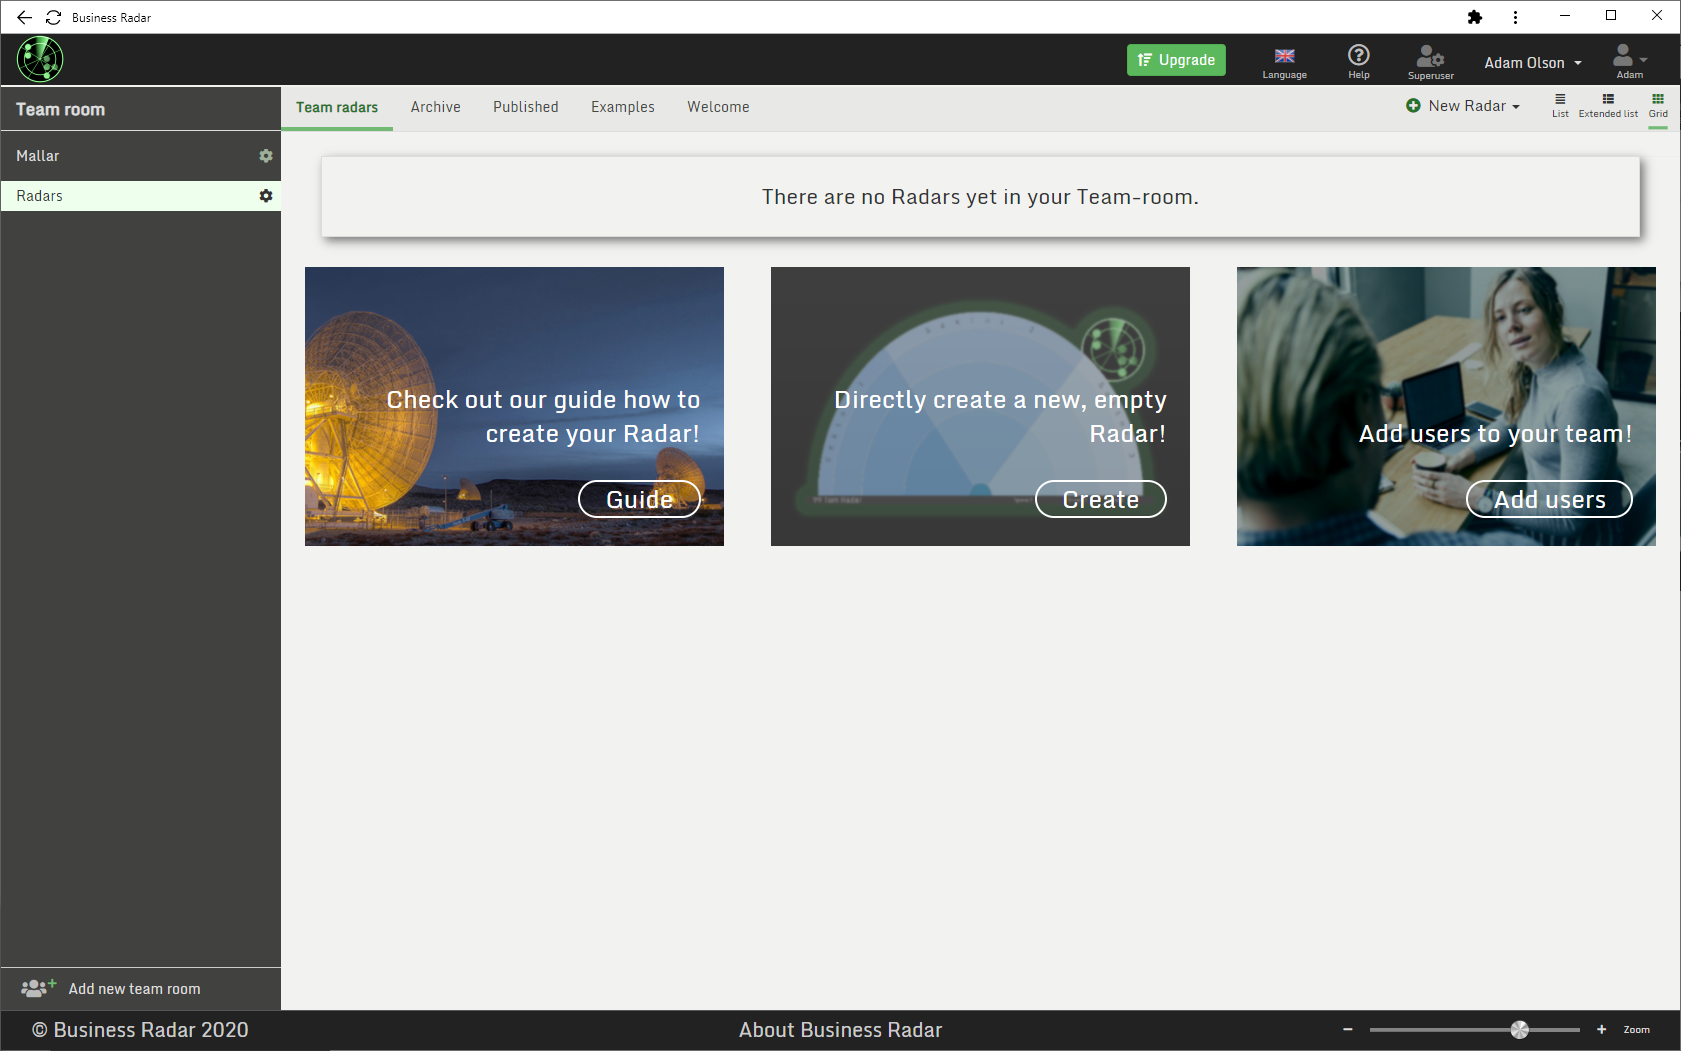
The first time you enter the Team room it is empty. You have not yet created any Radars.
The empty team room shows three shortcut images that are handy to get you going with Business Radar.
The dark panel to the left shows your Team rooms, and current active team-room is highlighted.
When your subscription was initiated two Team rooms were created for you:
- Radars that is your normal work space, and
- Mallar (Swedish for Templates) where you can save radars to easily be reused.
Each Team room has five sections, selectable by the tabs in the top of the page:
- Team radars is the storage area for the radars you are using and working on.
- Archive is the storage area for radars you choose to archive.
- Published is where published (read-only copies) radars are stored. Published radars do not require login for access.
- Examples is a comprehensive set of example radars that can be used as templates for new radars you create.
- Welcome holds shortcuts to guidelines and help.
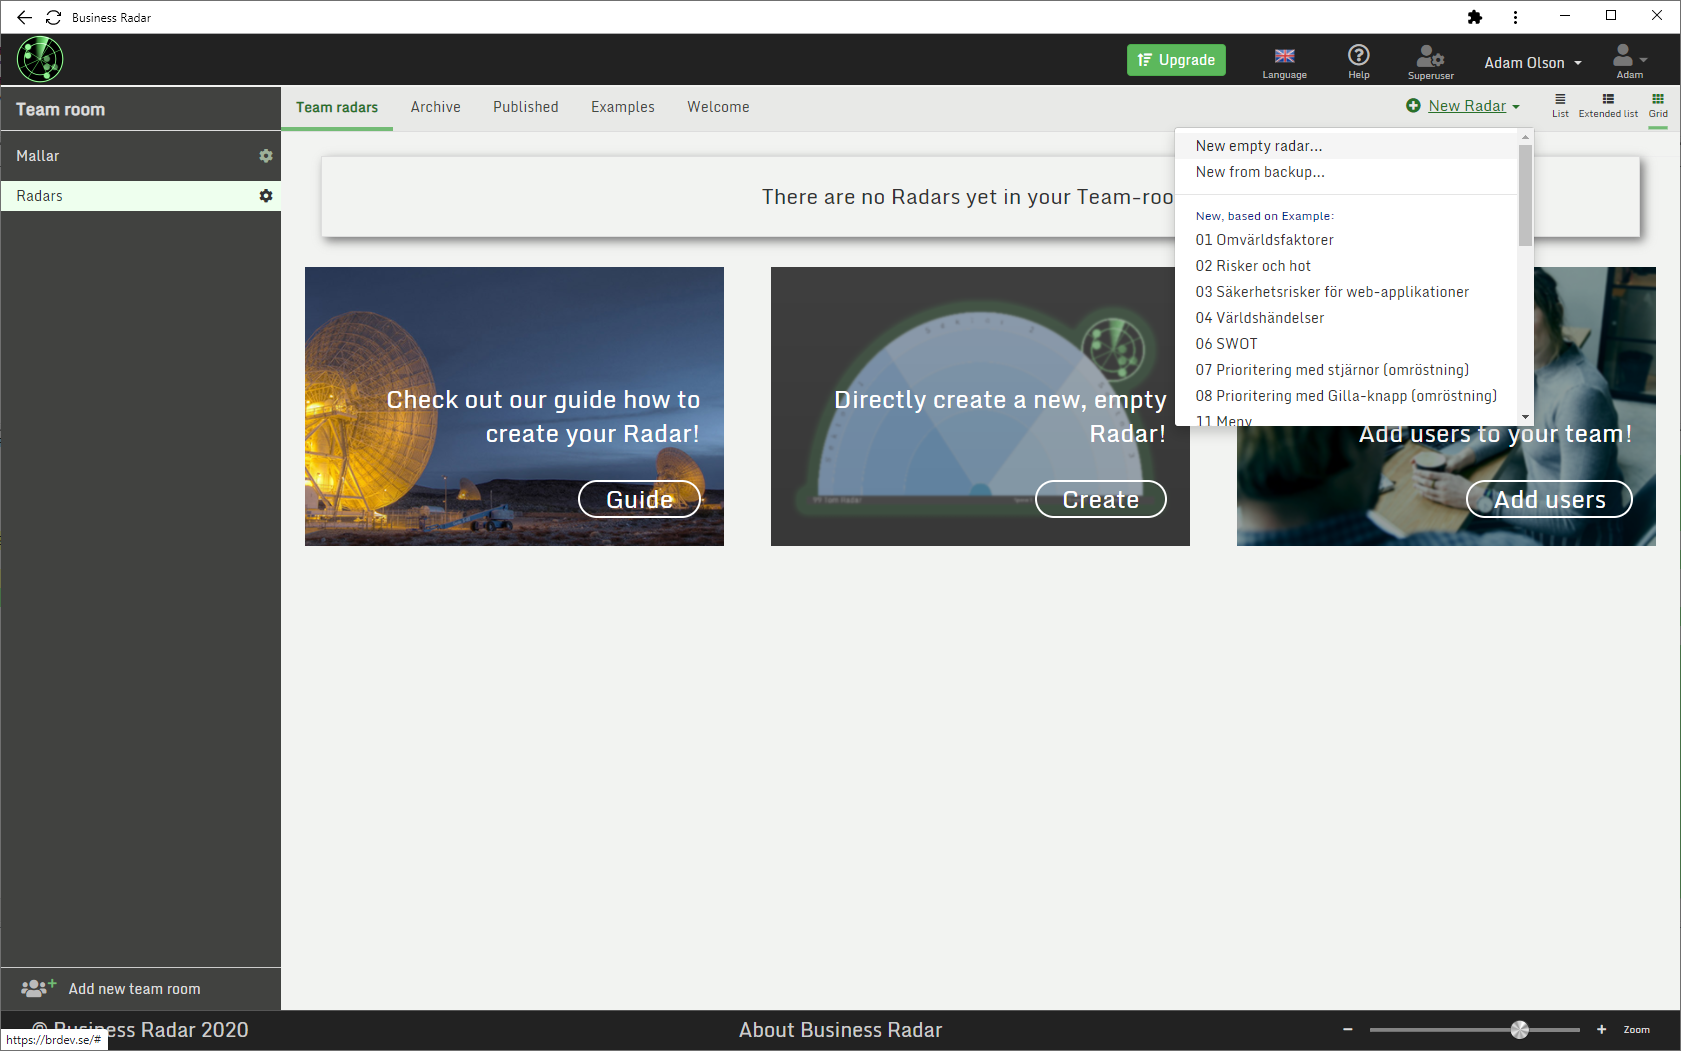
- Click New Radar in the submenu at top right to select how to create a new radar.
- Select 'New empty radar...'
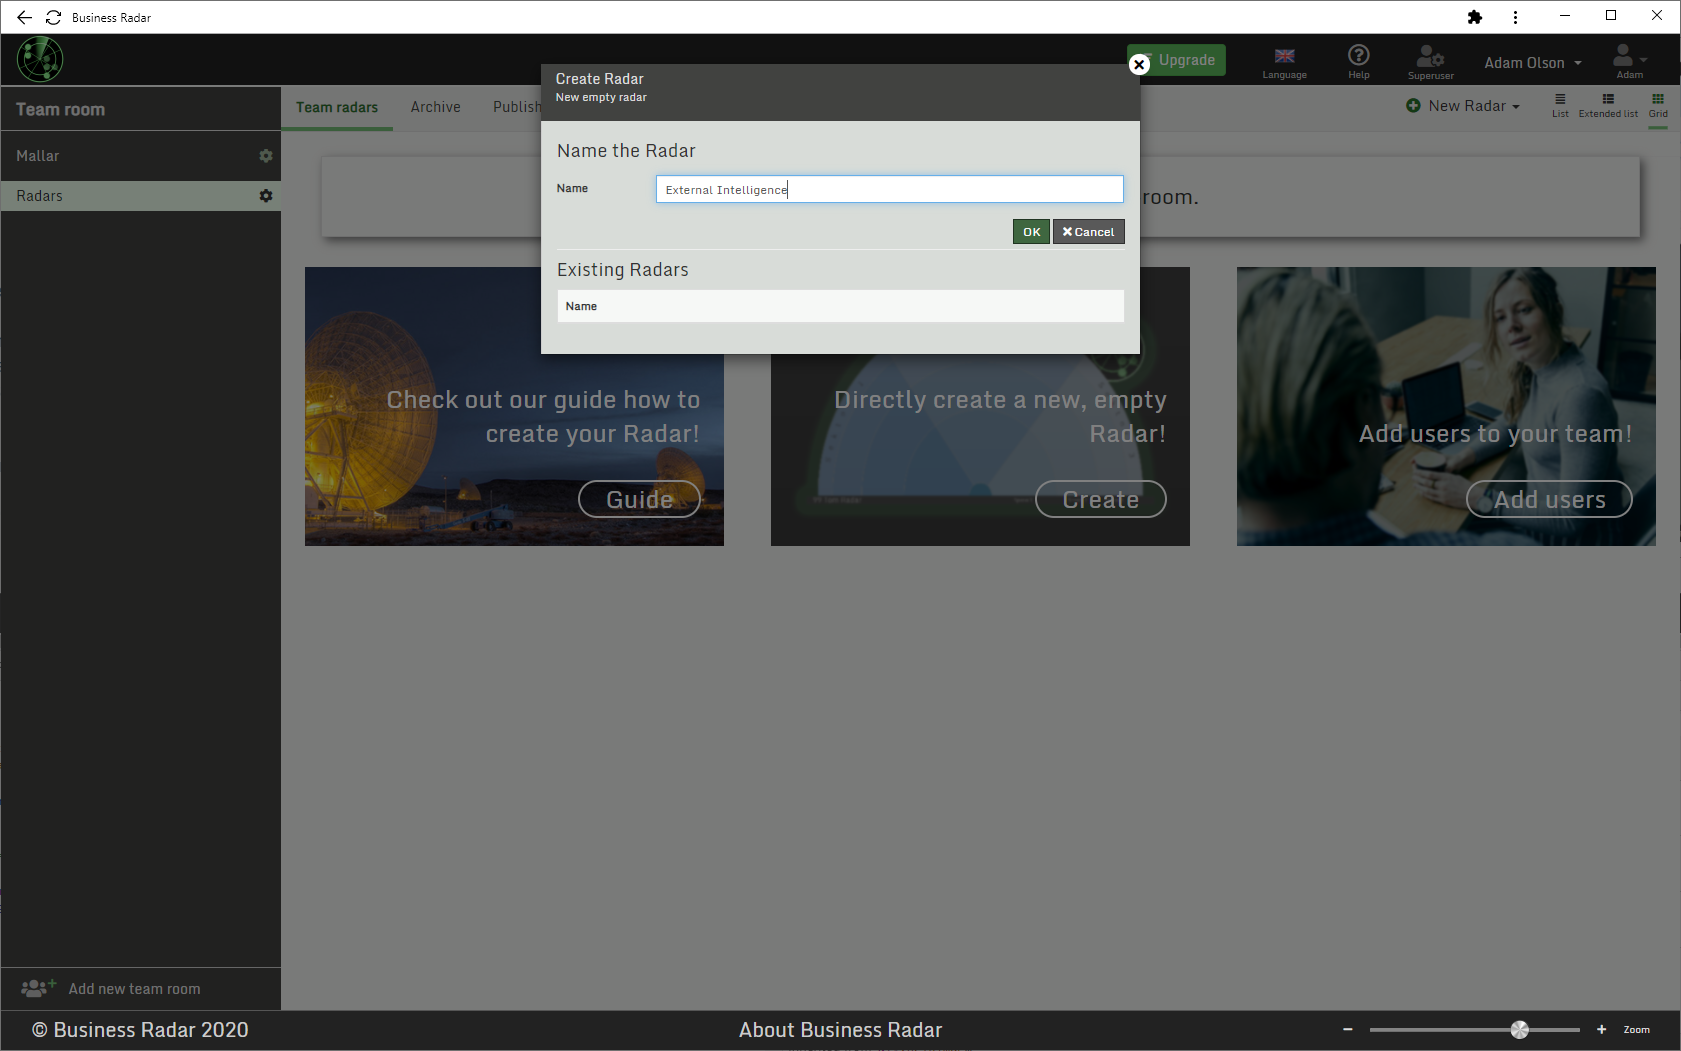
A popup widow is shown for you to enter the name of the new radar. You also see the names of already existing team radars.
- Enter the name of the new radar and click OK.
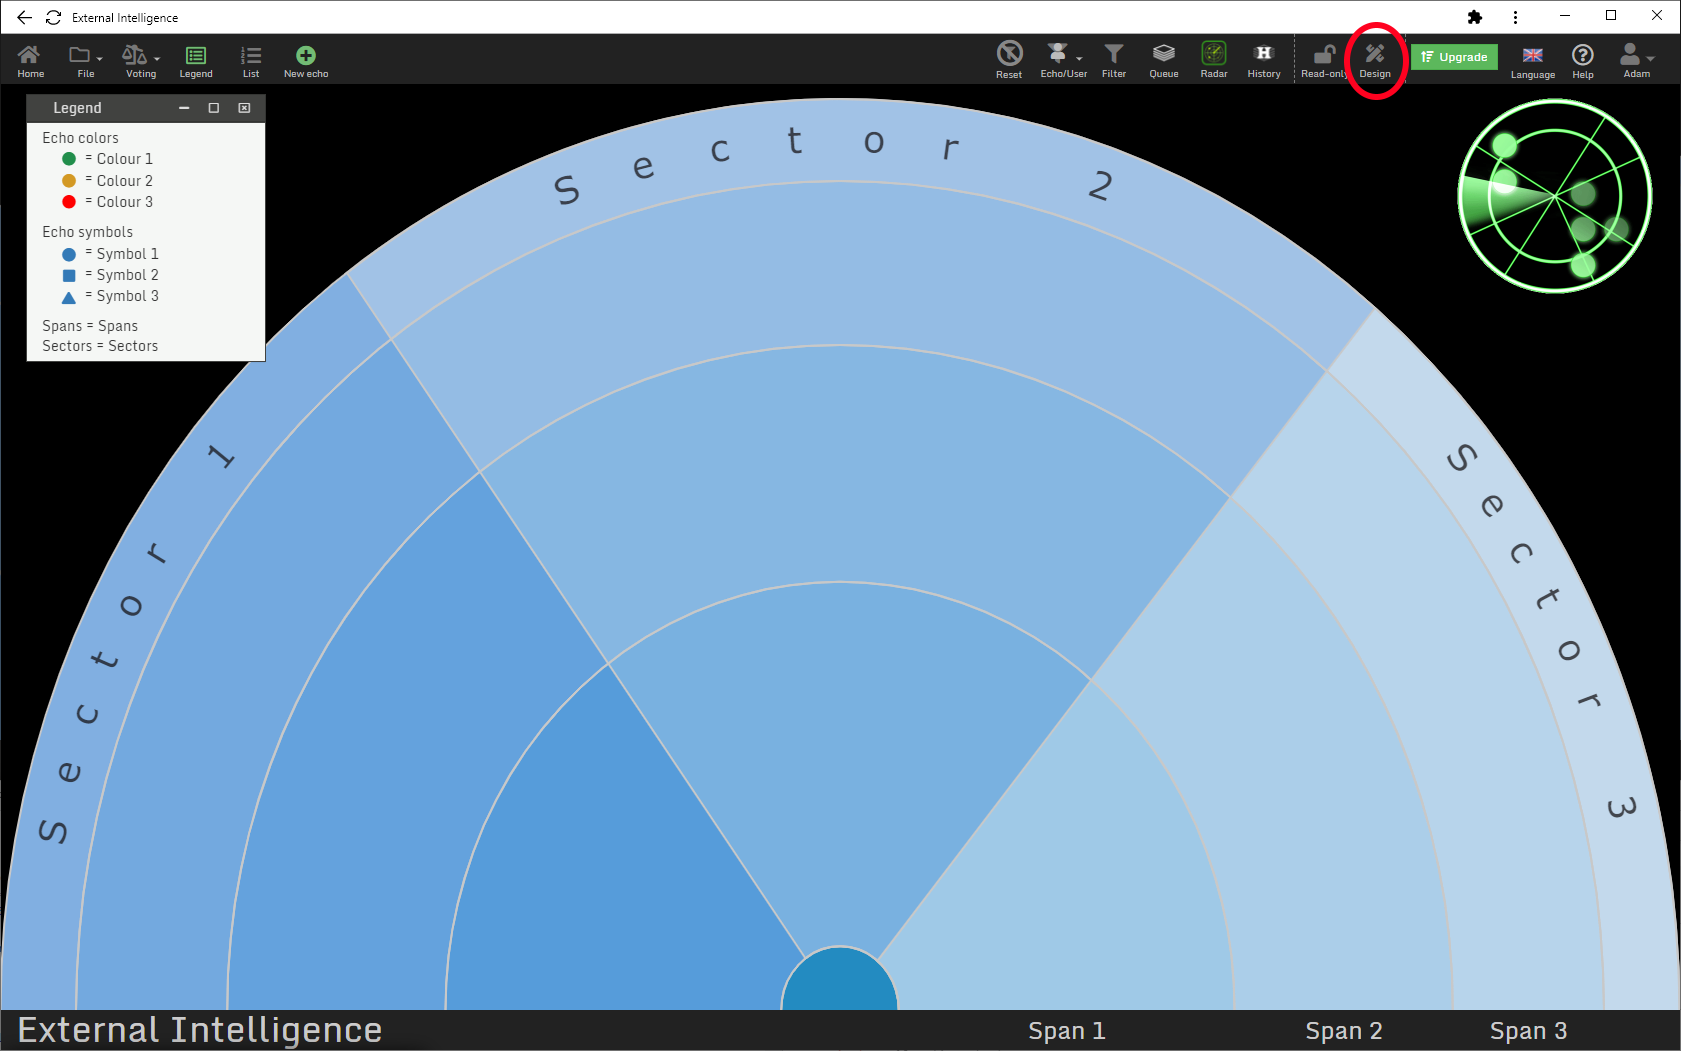
The Radar page is opened with an empty radar with a standard design.
First step is now to decide what sectors ('pie slices') and spans (the x-axis) should define the radar, and also what colors and symbols echoes can have.
- Click the icon with the crossed pencil and ruler () in the radar menu to open the radar design mode.
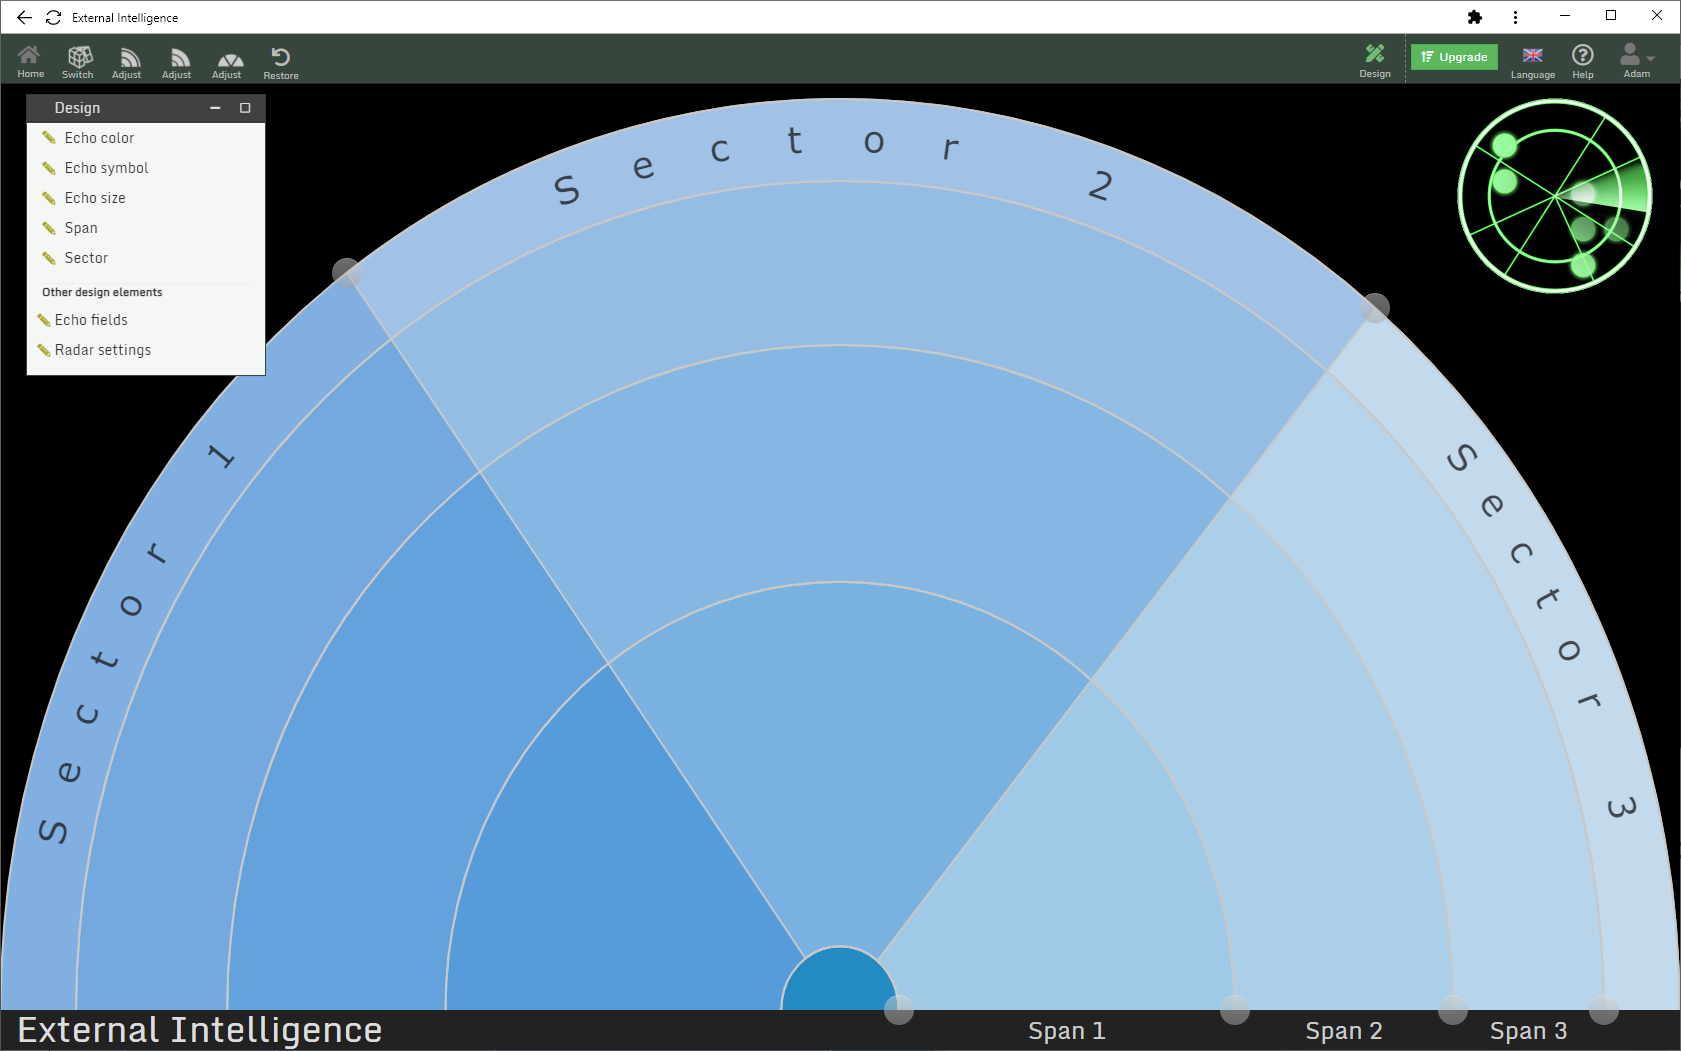
Now the radar is shown in design mode. This is indicated by the crossed pencil and ruler icon highlighted in greenin the radar menu ()
The top-menu now shows icons to swiftly adjust the spans and sectords of the radar, and the Design menu (popup window) provide access to change the characteristics of the radar.
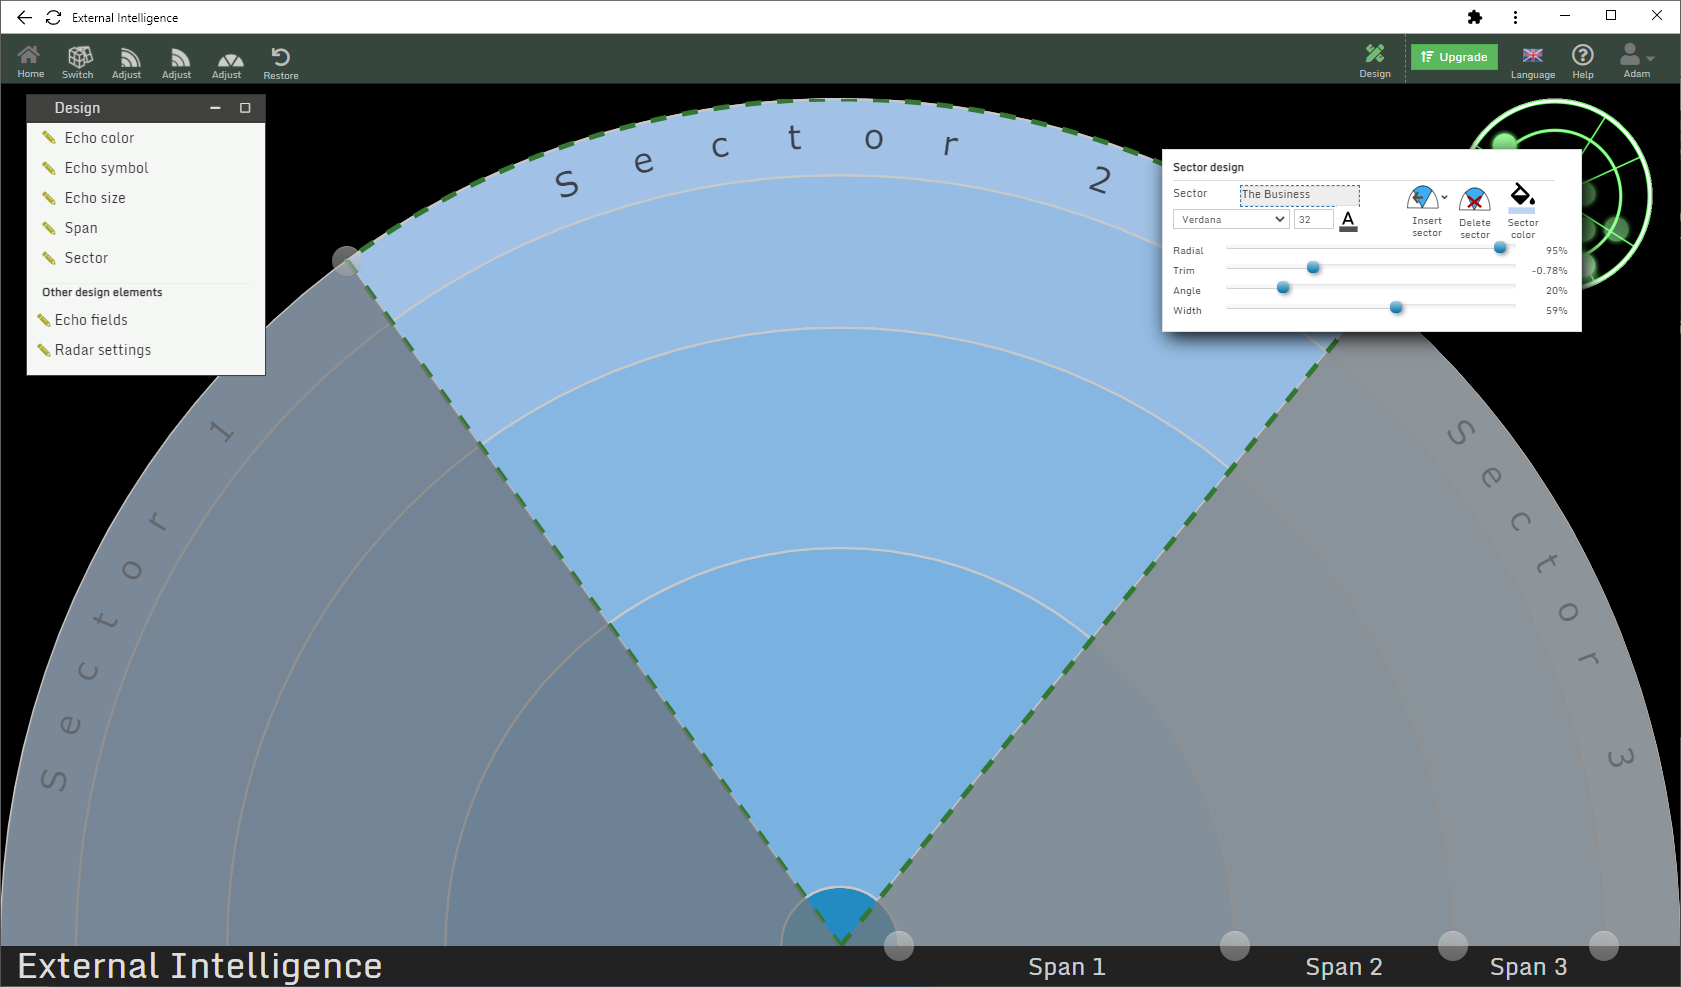
If you move the mouse close to the border of the radar the mouse pointer change to an arrow ( ) and when you click, the closest sector is highlighted.
- Click a sector to edit its naming in the pop-up shown.
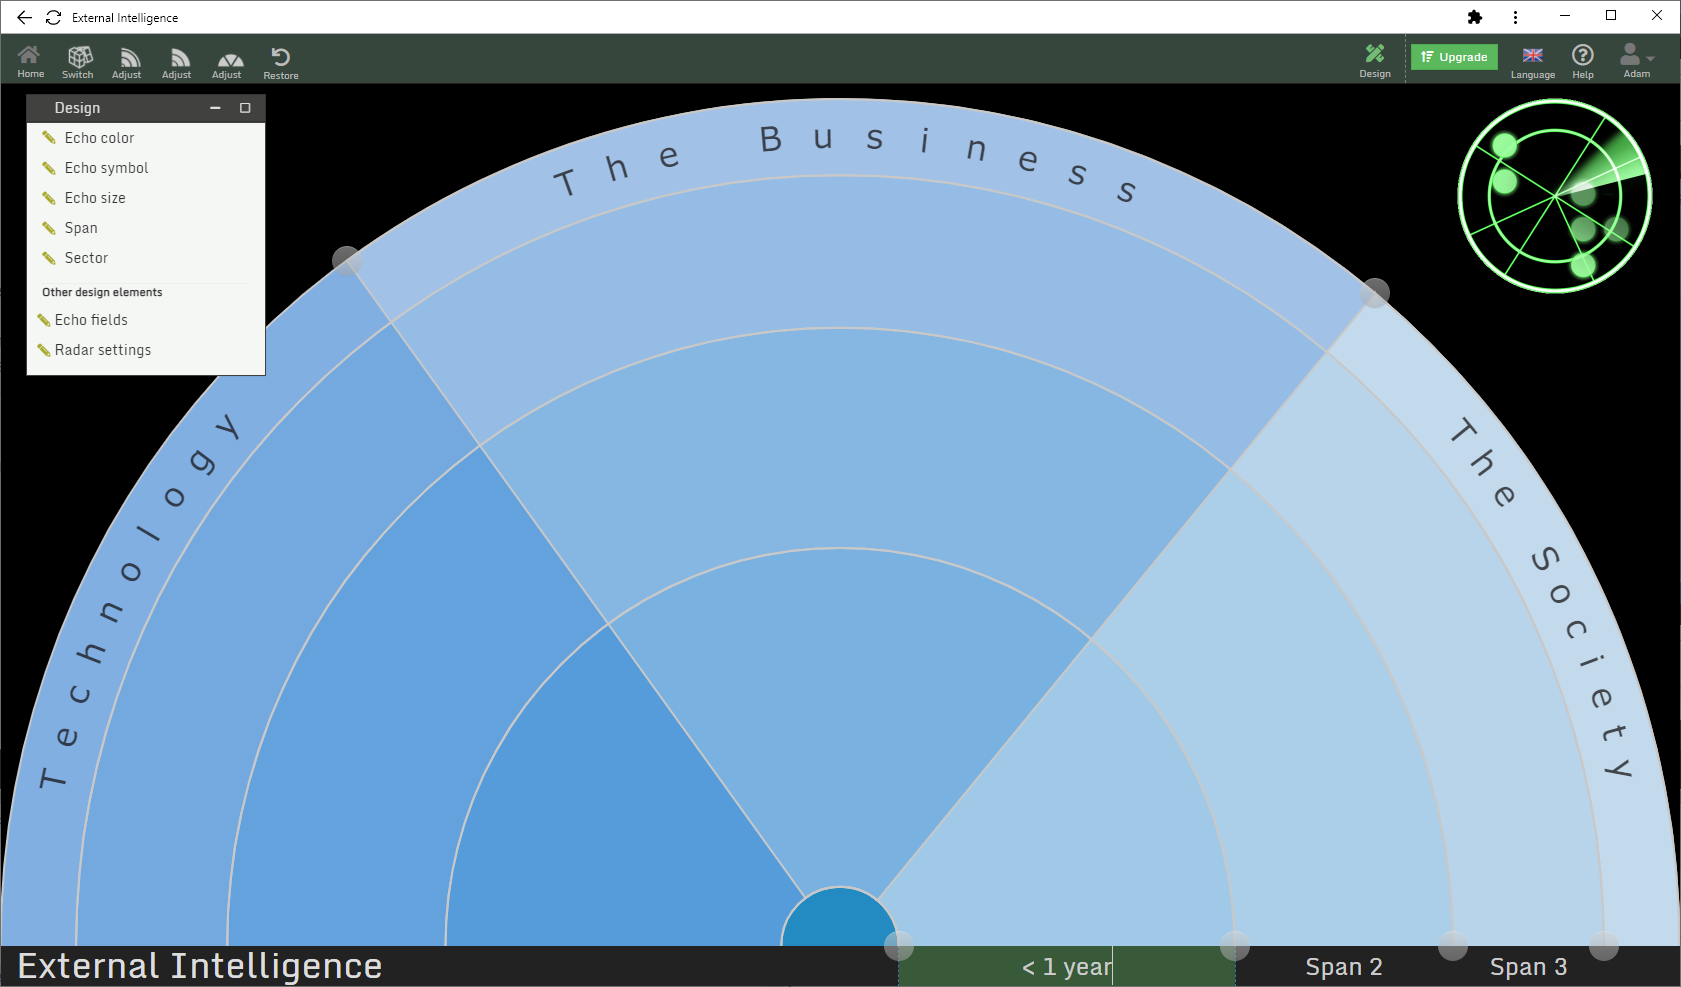
- Click a the text of a span (to the right at the bottom) to edit its naming directly.
-
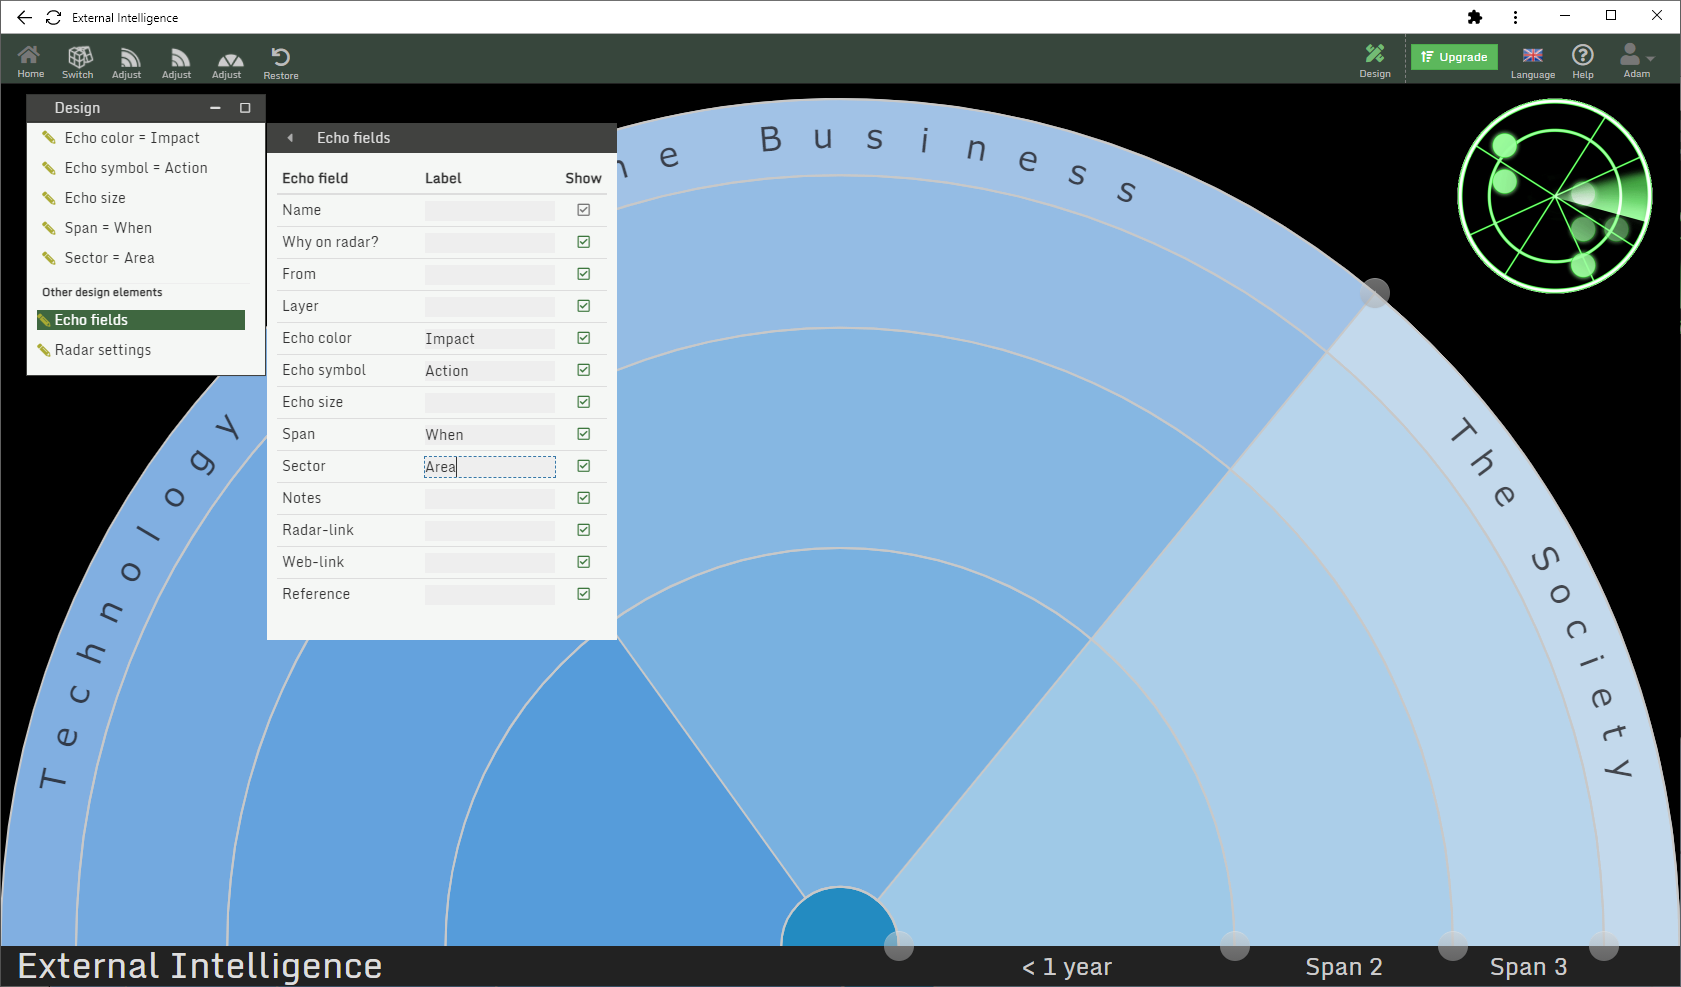
Click Echo fields in the Design menu and change the names of Echo color, Echo symbol, Span and Sector.
Generally shall names that are relevant for the purpose of the radar be used!
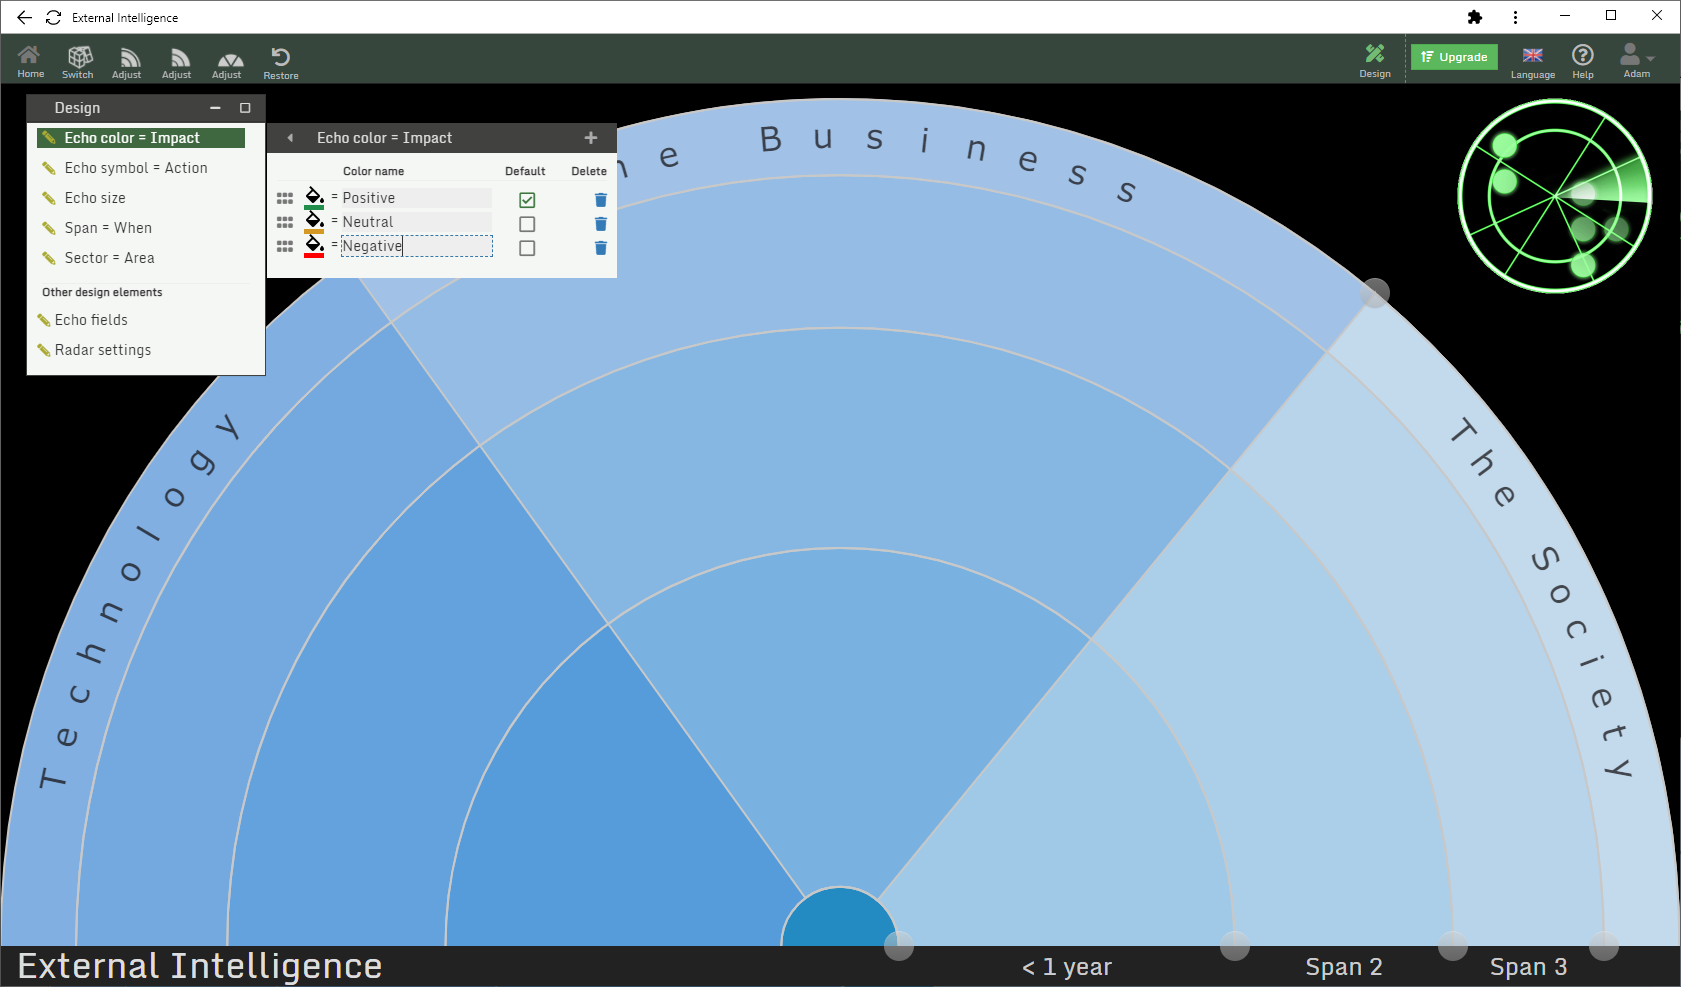
-
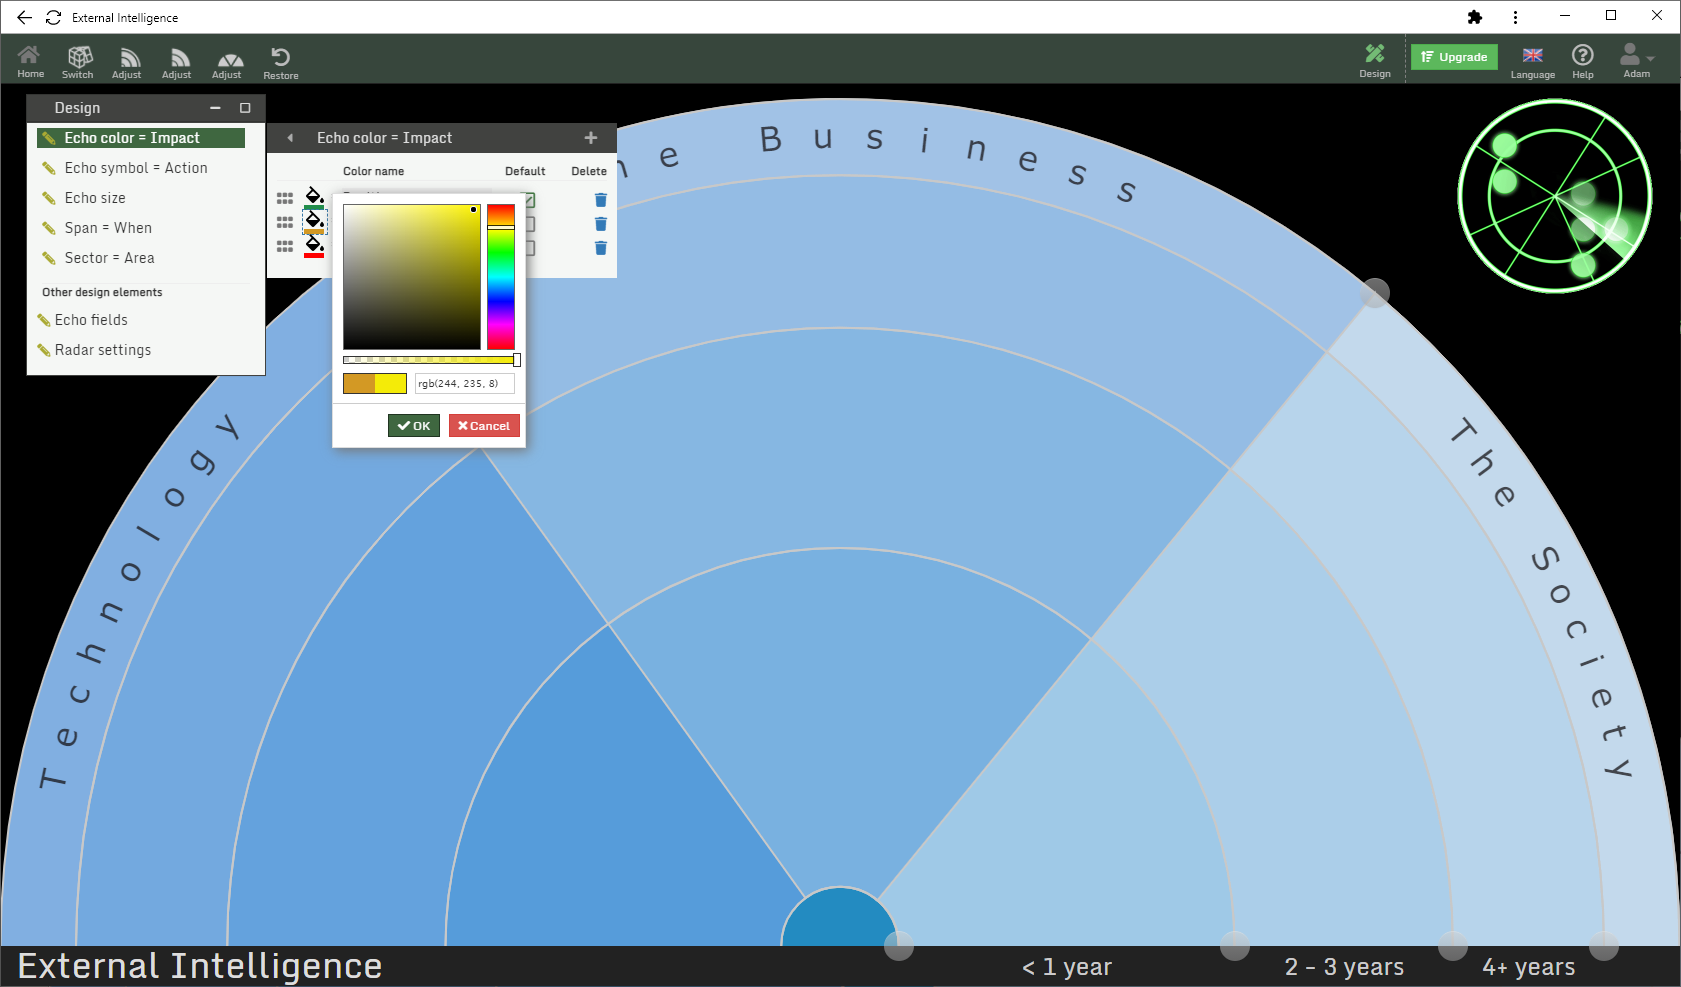
Click Echo color in the Design menu and change the names of the colors to be used.
In this example the colors indicate impact.
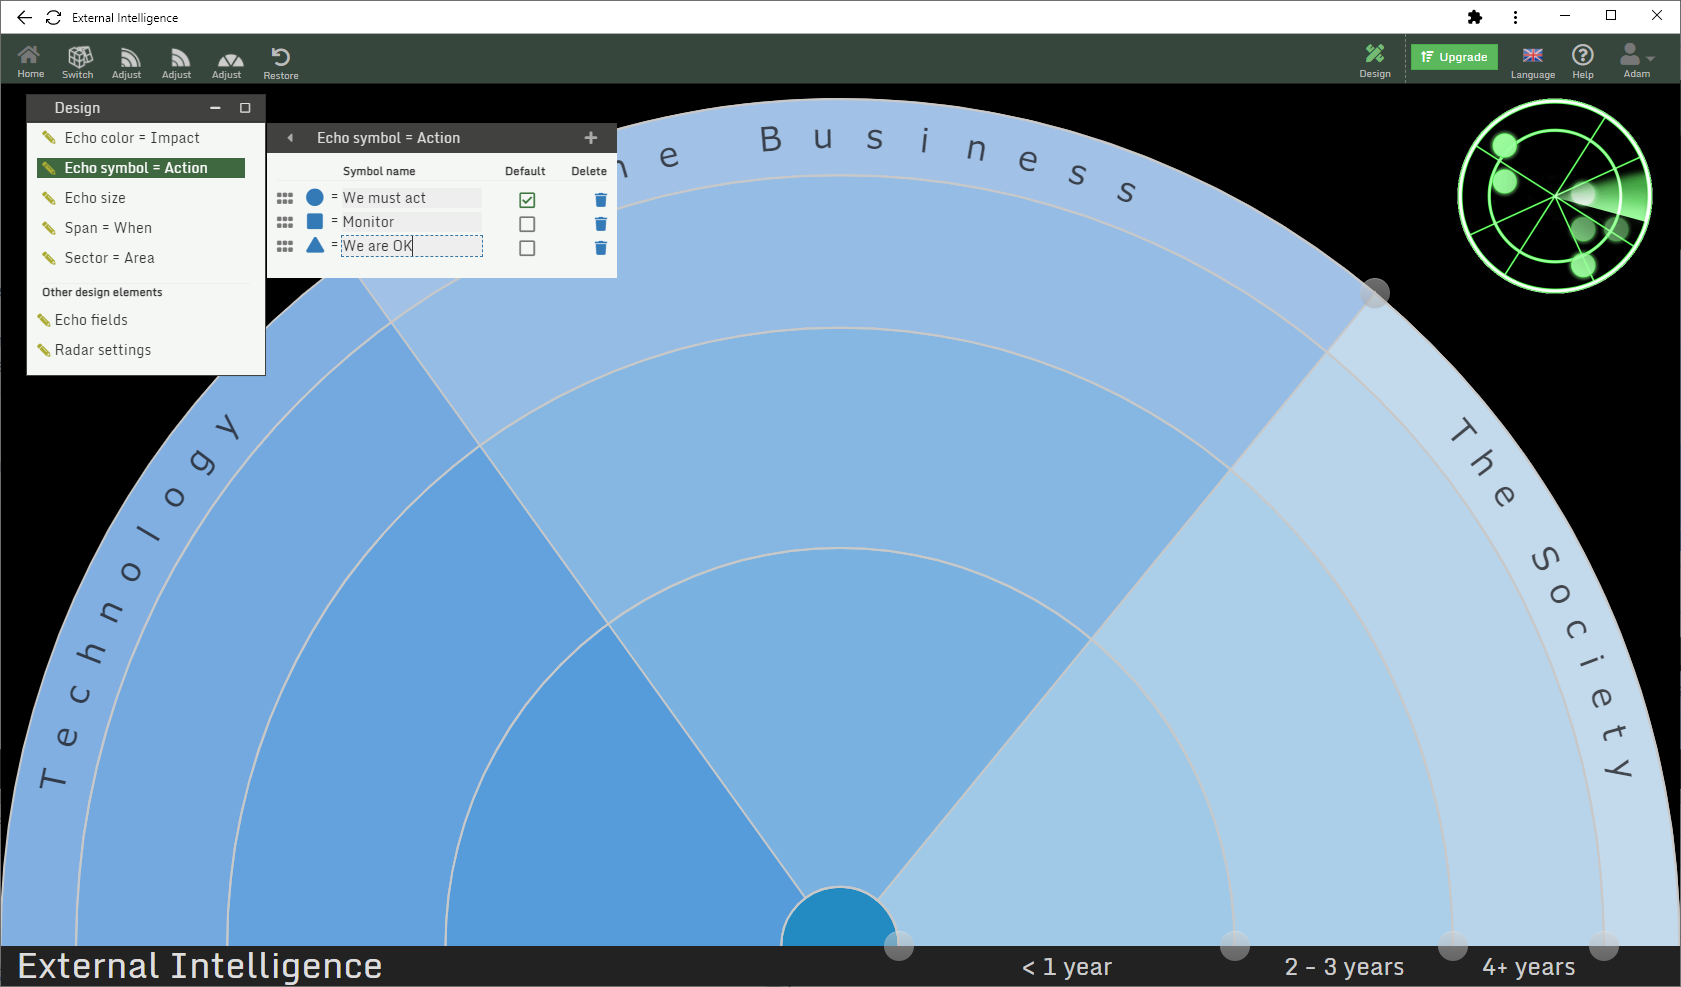
- Click a color bucket (icon) to change a color.
-
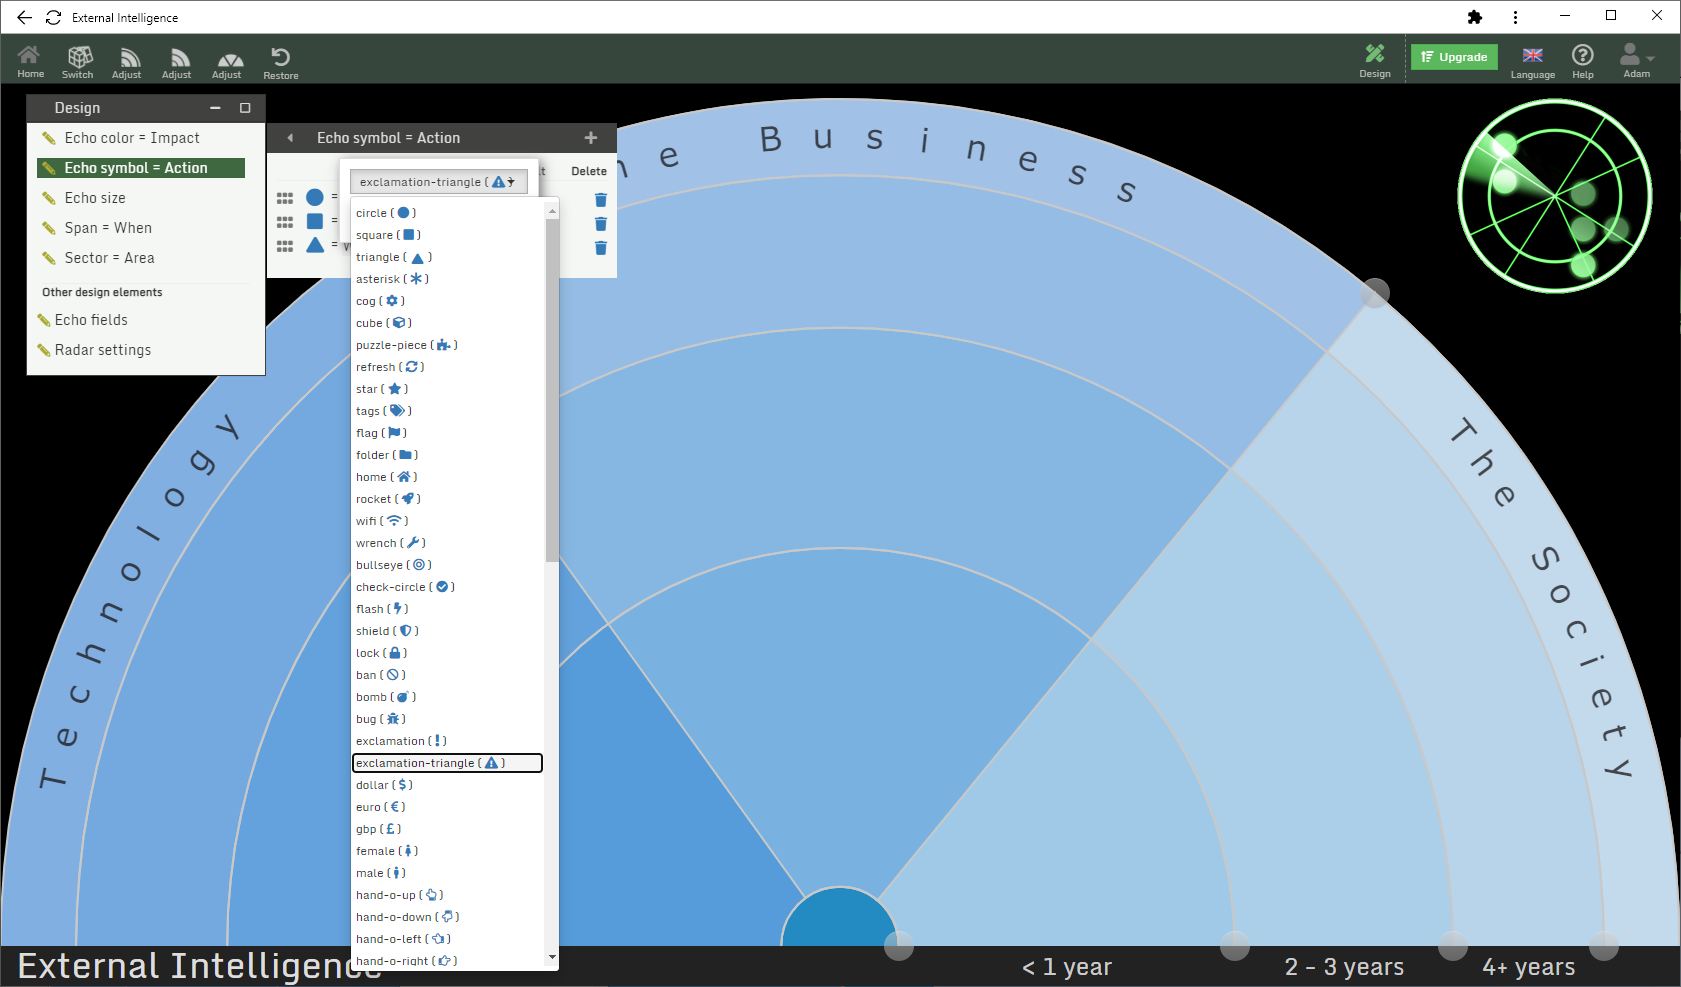
Click Echo symbol in the Design menu and change the names of the symbols to be used.
In this example the symbols indicate required action.
-
Click a symbol to change it by selecting one in the drop-down.
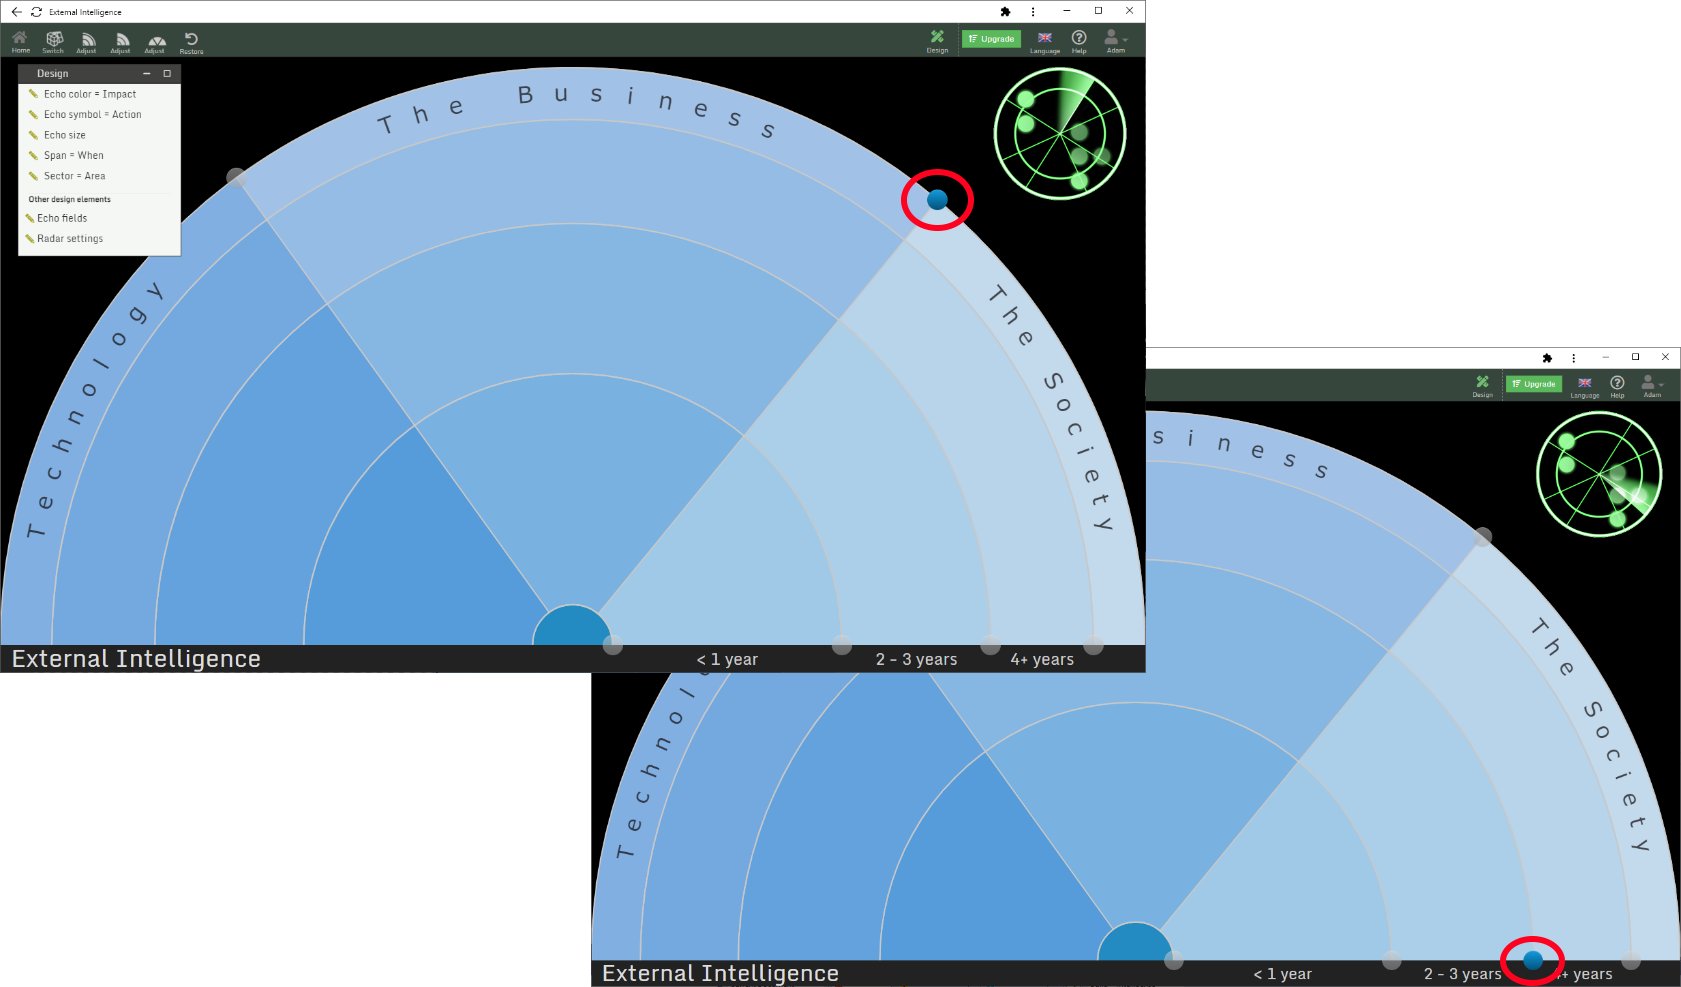
When the radar is open in design you can easily change the sizes of spans and sectors.
Do this by dragging the round handles placed at the outer intersections of sectors and spans.
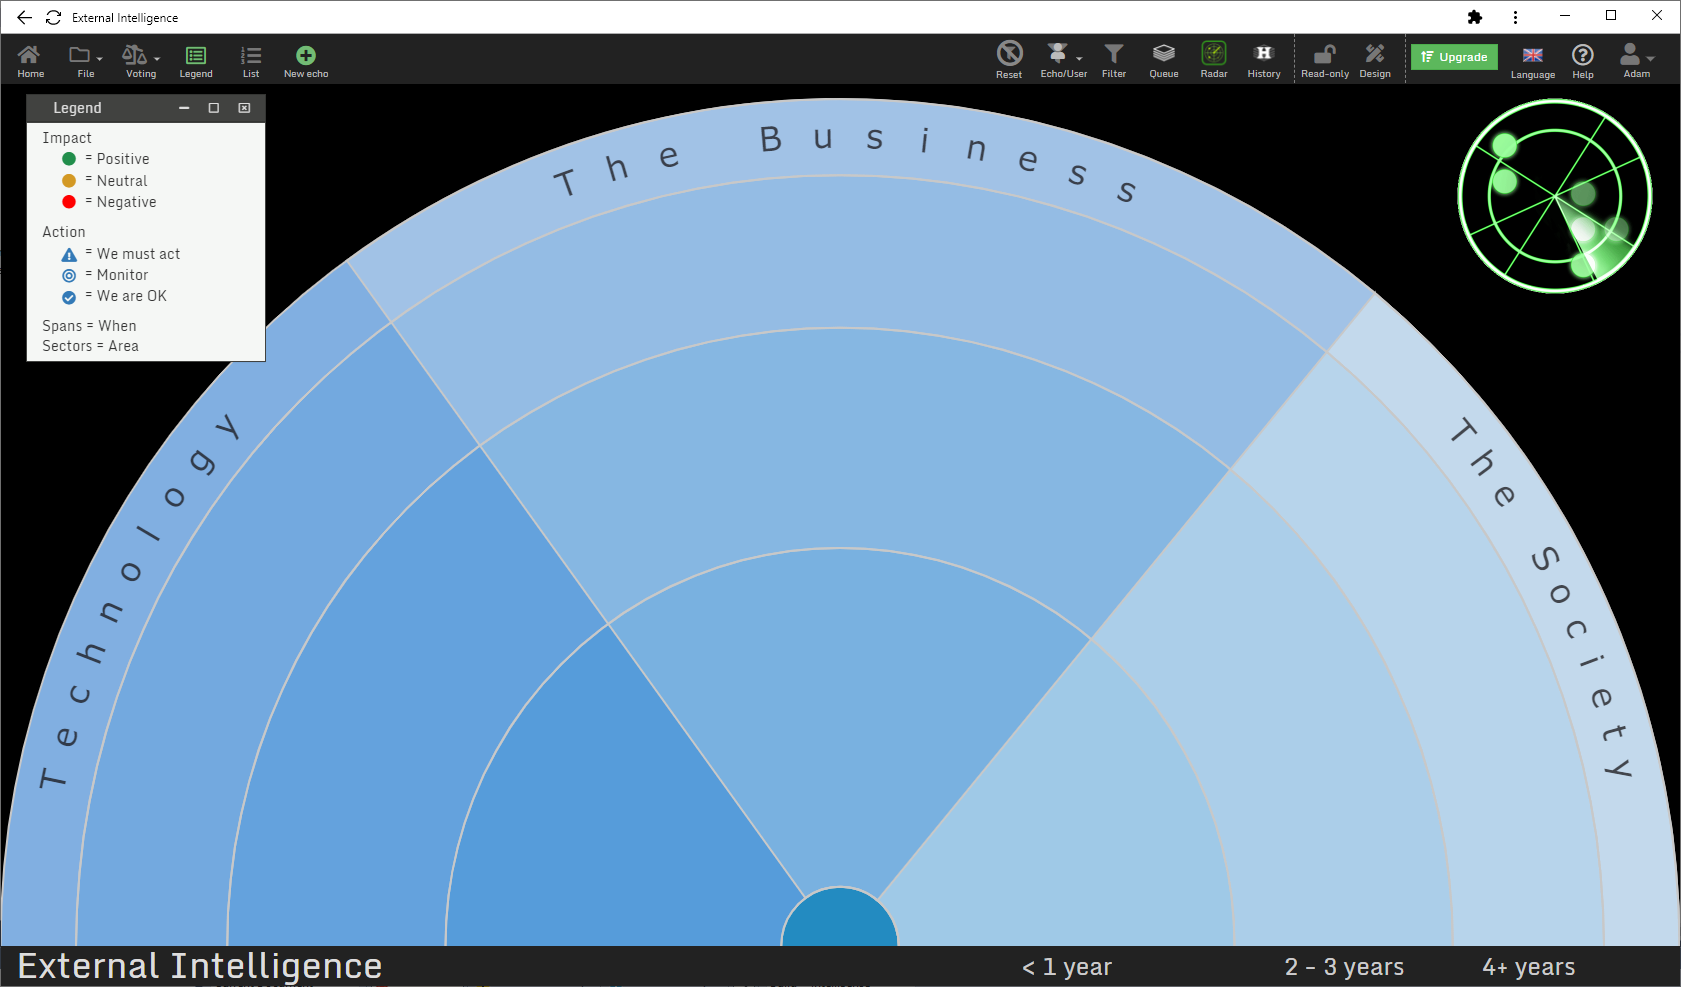
When you are satisfied with your settings, you leave the deign mode.
- Click the highlighted crossed pencil and ruler icon again ().
Now the radar is shown in "normal" mode with its new appearance and it is ready for use!
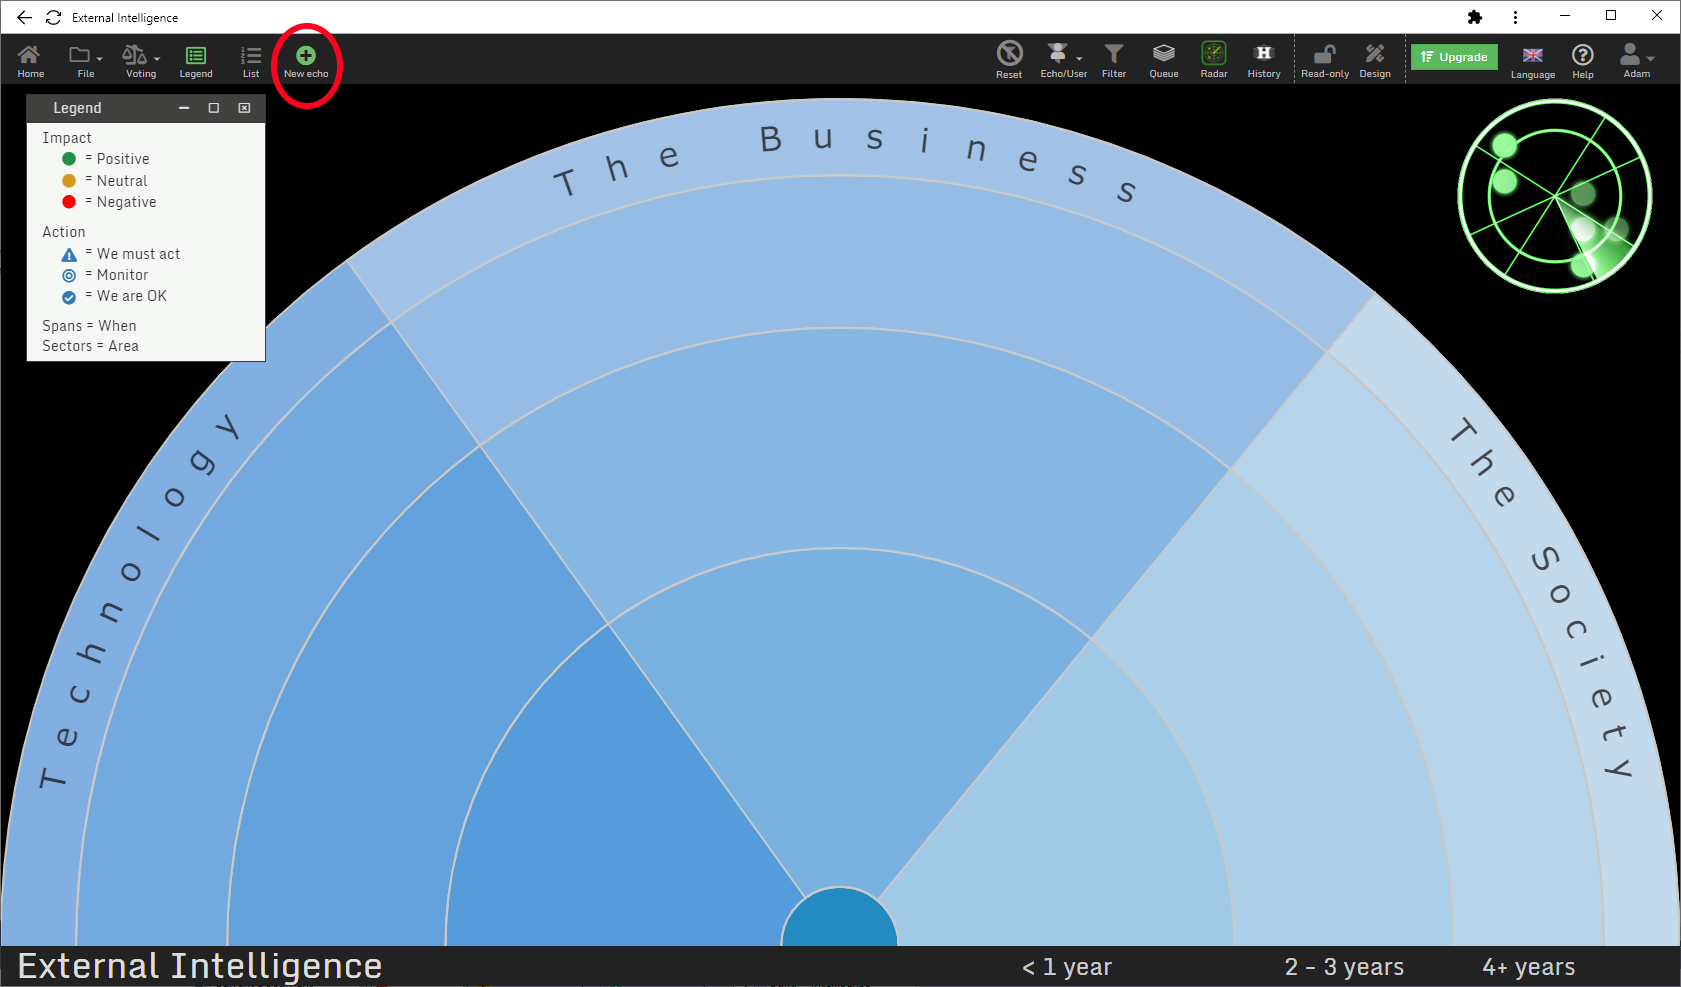
Test your new radar by adding a new echo.
- Click New echo () in the radar menu.
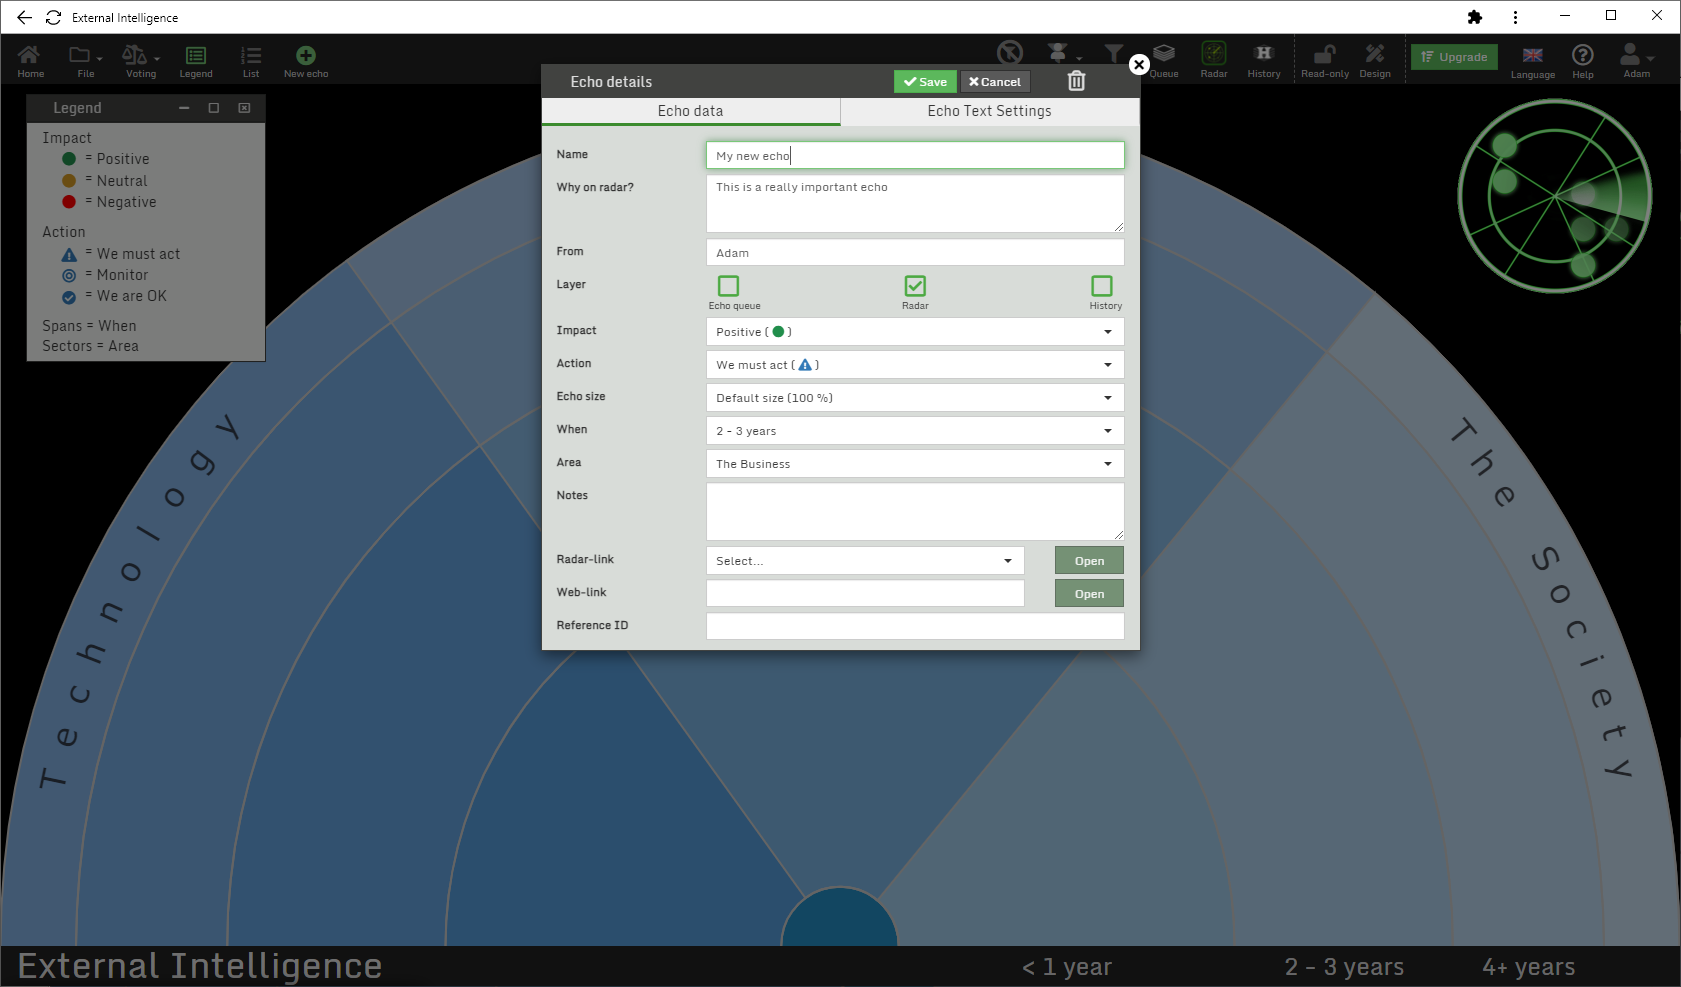
- Edit the attributes of the new echo and select echo-color, -symbol, -span and -sector to see that your settings works.
- When done, click Save
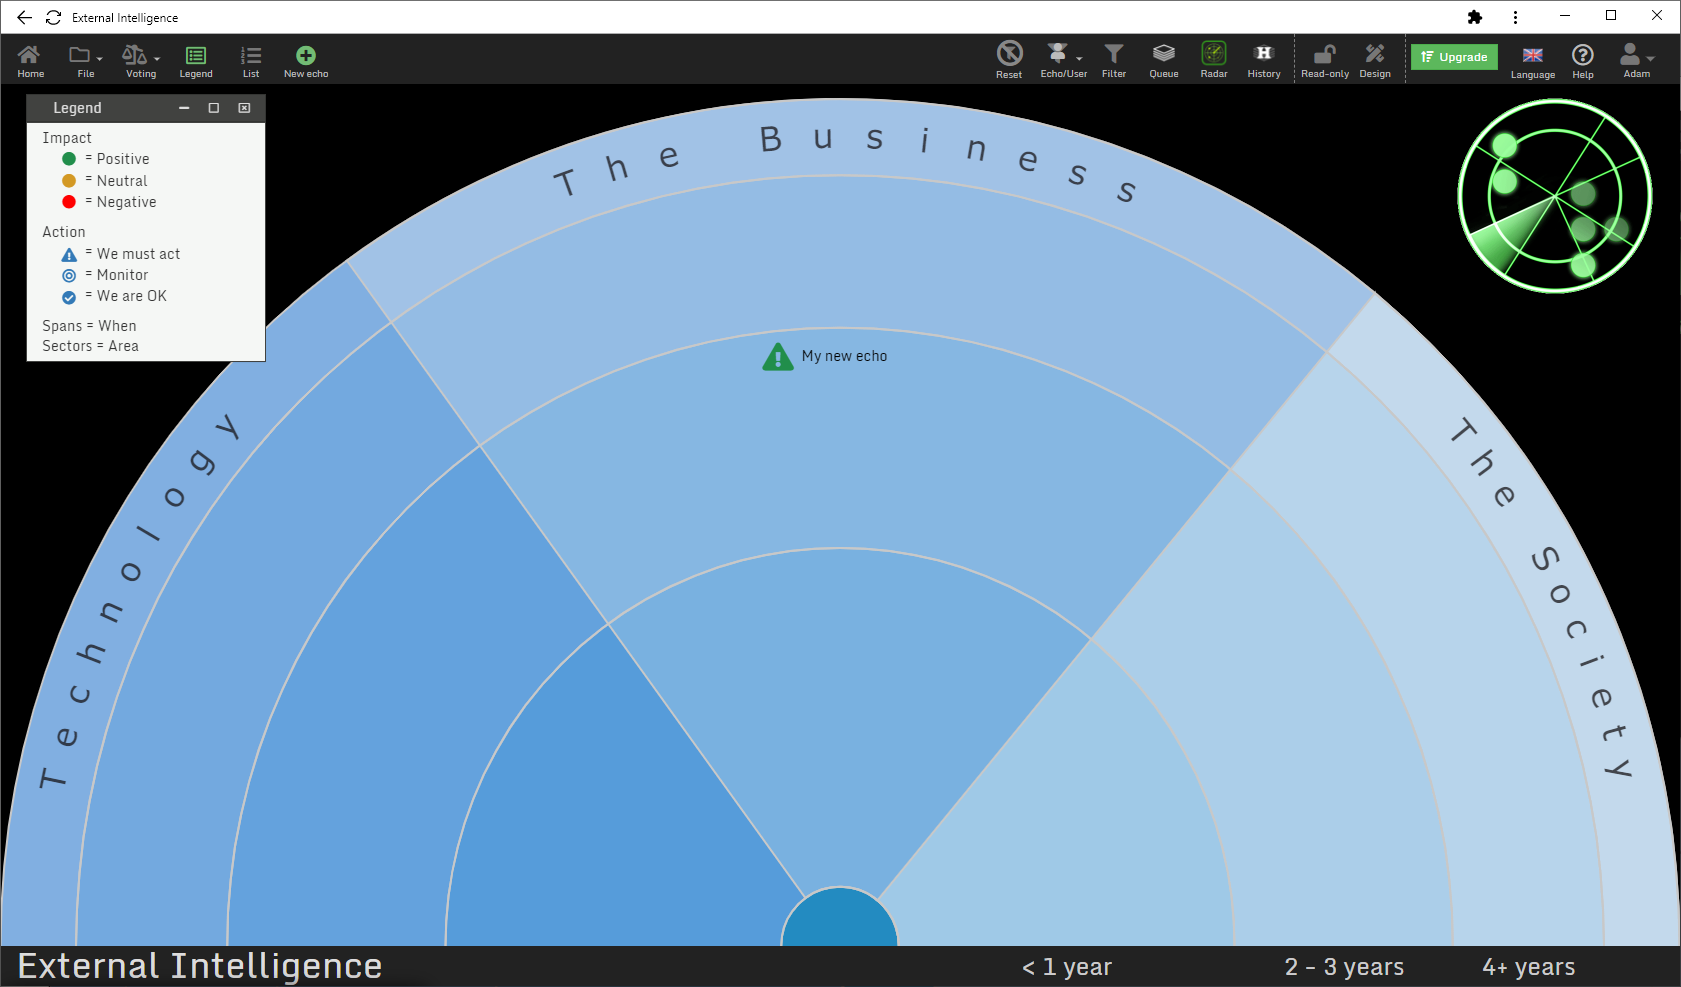
When the echo has been saved you can see it placed on the radar within the span and sector you selected.
If you need to adjust the position of the echo on the radar, simply drag it into the position you like.
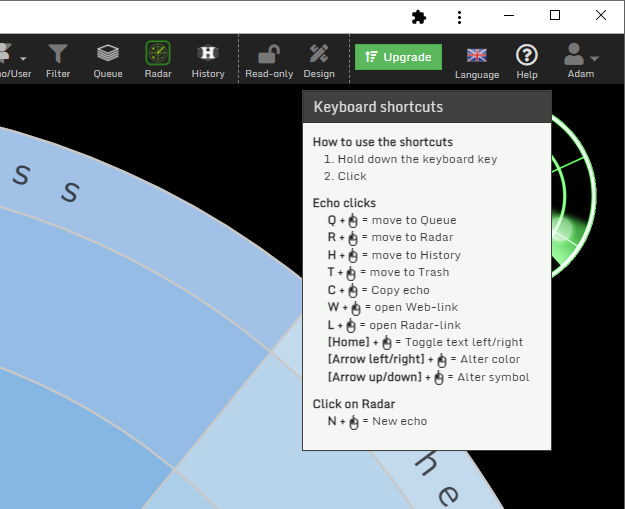
Shortcuts
When you are getting used to working with your radar and its echoes there are a lot of keyboard/mouse shortcuts that can be handy to use.
If you hold the mouse pointer over the Help-button a sheet is showing all the available shortcuts.
How to use the shortcuts
- Hold down the keyboard key
- Click
Click on an Echo:
- Q +
 = move to Queue
 - R +
 = move to Radar
 - H +
 = move to History
 - T +
 = move to Trash
 - C +
 = Copy echo
 - W +
 = open Web-link
 - L +
 = open Radar-link
 - [Home] +
 = Toggle text left/right
 - [Arrow left/right] +
 = Alter color
 - [Arrow up/down] +
 = Alter symbol
Click on the radar surface:
- N +
 = New echo
